
MCP Cursor refers to how the AI-powered code editor Cursor (a fork of VS Code) integrates MCP to extend its capabilities. Cursor acts as an MCP host, meaning it can connect to MCP servers (services exposing tools or data) through MCP clients (components managing the connection). For example, you could use Cursor to ask an AI agent to “update a budget in Google Sheets and notify the team on Slack.” Cursor would leverage MCP servers for Google Sheets and Slack to execute those actions.
Installation
This guide walks you through setting up the Model Context Protocol (MCP) on macOS using Cursor, an AI-powered code editor. MCP lets AI interact with external tools like GitHub or your local filesystem through a standardized interface. We’ll focus on a graphical user interface (GUI) approach to make it accessible, assuming you’re new to MCP but comfortable with basic macOS navigation.
Prerequisites
Before starting, ensure your Mac meets Cursor’s hardware requirements:
- Operating System: macOS Ventura (13.x) or later.
- Processor: Apple Silicon (M1/M2/M3) or Intel Core i5/i7 (2018 or newer).
- Memory: 8GB RAM minimum, 16GB recommended for AI features.
- Storage: 500MB free space for Cursor, plus additional space for projects and MCP servers.
- Internet: Stable connection for downloading Cursor and accessing AI models.
- Browser: Safari, Chrome, or Firefox for accessing the Cursor website and GitHub.
Step-by-Step Installation
1. Download and Install Cursor
Cursor is the primary application (or “host”) for using MCP in this guide.
- Open your browser and visit the official Cursor website.
- Click the “Download” button for macOS. You’ll get a .dmg file (e.g., Cursor.dmg).
- Open the downloaded file from your Downloads folder.
- Drag the Cursor icon into the Applications folder as prompted by the installer.
- Eject the .dmg by clicking the eject icon in Finder.
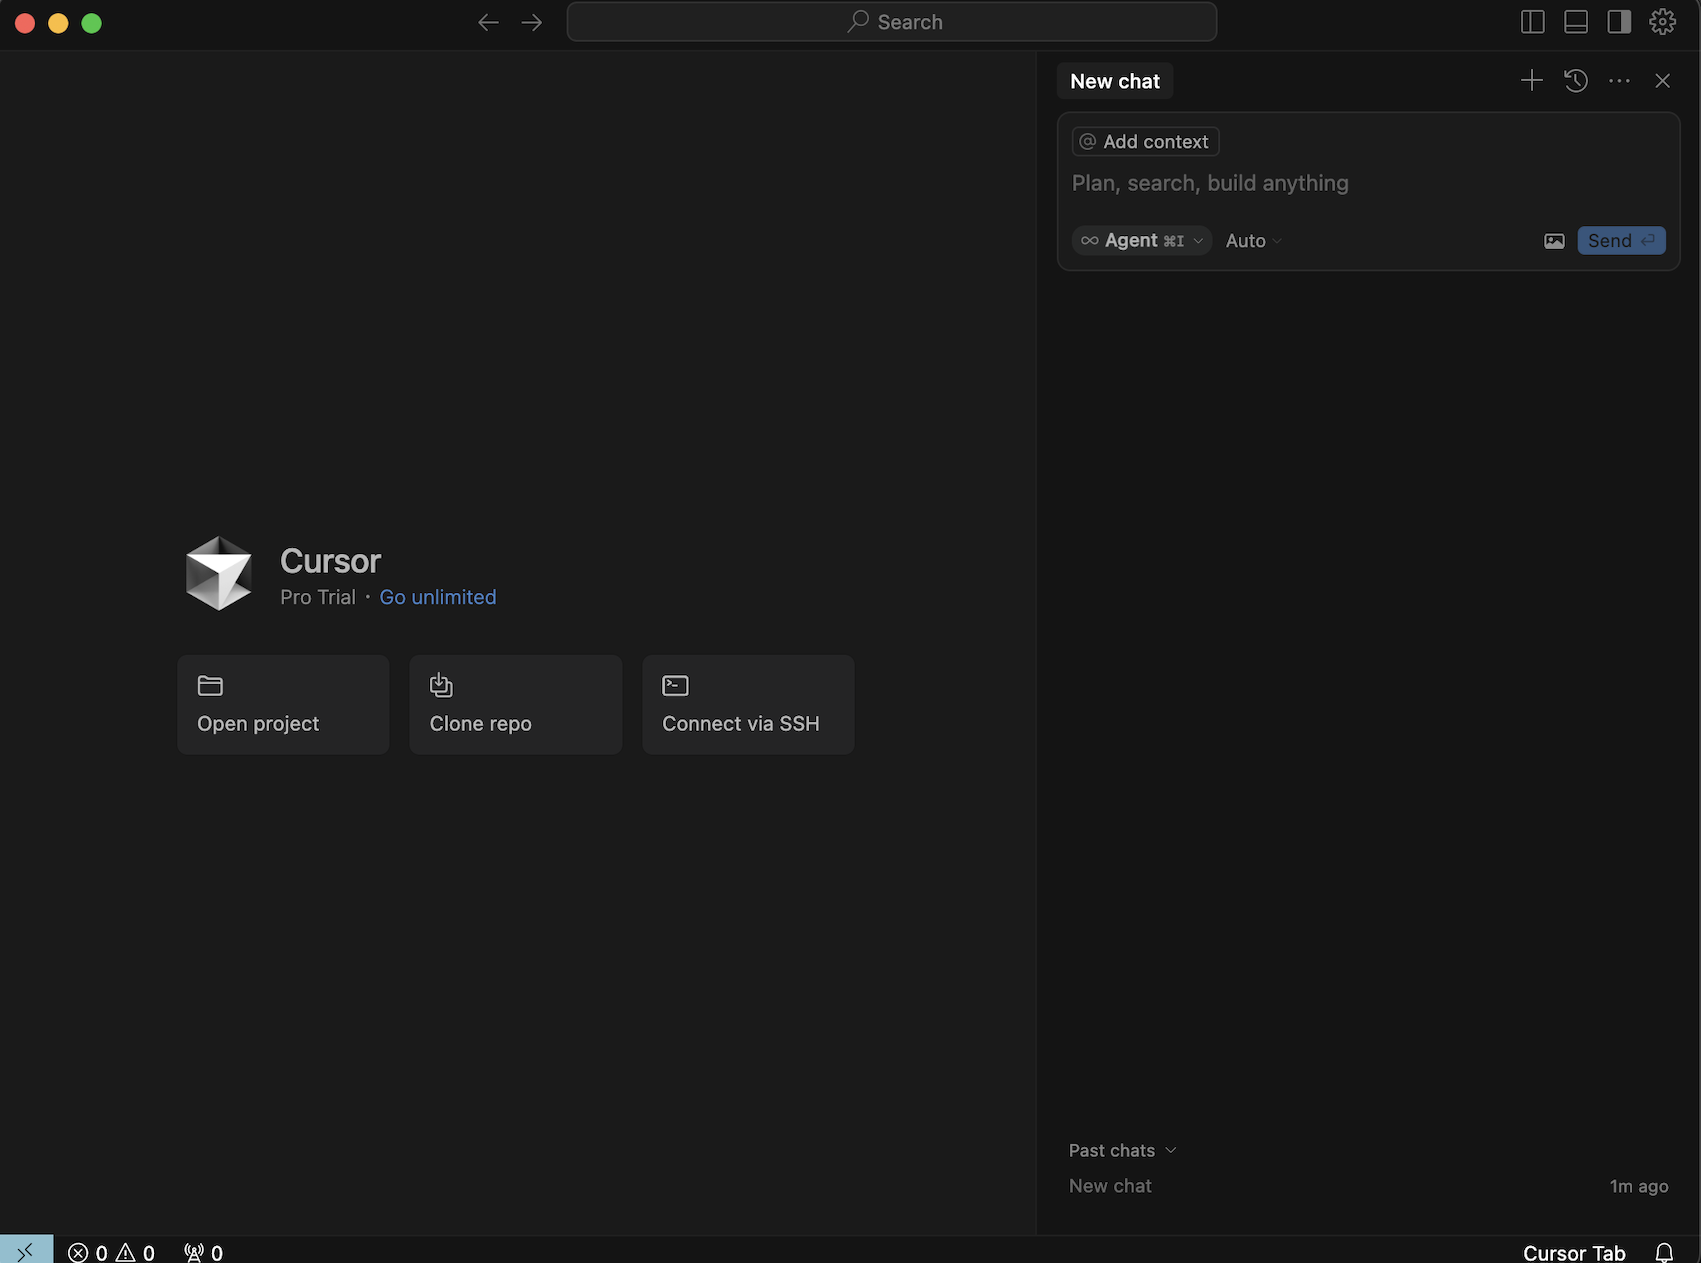
- Launch Cursor from Applications. If macOS prompts about opening an app from the internet, click “Open.”
- On first launch, Cursor may ask for permissions (e.g., Terminal or file access). Approve these to enable MCP functionality.
2. Sign Up or Log In to Cursor
- When you open Cursor, you’ll see a welcome screen.
- Click “Sign Up” to create a free account or “Log In” if you have one. Use your email or GitHub/Google credentials.
- Is Cursor Free?: Yes, Cursor offers a free plan with access to core features, including MCP integration and AI coding tools (powered by models like Claude or GPT). The free plan has usage limits (e.g., number of AI queries per month), but these are sufficient for most personal projects. Paid plans (e.g., Cursor Pro) unlock higher limits and advanced features, but you don’t need them for basic MCP use.
- How to Use Cursor for Free: Stick to the free plan by signing up without selecting a paid subscription. Avoid exceeding query limits by focusing on essential tasks (e.g., code completion, MCP tool calls). Cursor’s website has a dashboard to monitor your usage.
3. Configure an MCP Server in Cursor
MCP servers are services that expose tools to Cursor, like GitHub for managing repositories or a filesystem tool for reading local files. We’ll set up a GitHub server using Cursor’s GUI.
- In Cursor, click the menu bar and select File > Preferences > Settings.
- Scroll to the “MCP” section or search for “MCP” in the settings search bar.
- Click “Add New Server.”
- For “Server Name,” enter “github.”
- For “Type,” select “Remote” (most pre-built servers are hosted online).
- In the “URL” field, paste the URL for a trusted GitHub MCP server. You can find official URLs on the Model Context Protocol website or Cursor’s documentation. For example, Anthropic provides a GitHub server at a URL like https://github.mcp.anthropic.com.
- About Tokens: MCP servers often require API tokens for authentication. For the GitHub server, you need a GitHub personal access token:
- Open a new browser tab and go to GitHub.
- Log in, then navigate to Settings > Developer Settings > Personal Access Tokens > Tokens (Classic).
- Click “Generate New Token.”
- Name it (e.g., “Cursor MCP”), set an expiration (e.g., 90 days), and select scopes like repo for repository access.
- Copy the token (it starts with ghp_) and paste it into the “API Token” field in Cursor’s MCP settings.
- Why Tokens Matter: Tokens act like passwords, granting Cursor access to your GitHub account for tasks like creating pull requests. Never share tokens publicly, and use minimal scopes to reduce risk.
- Click “Save” to store the configuration.
4. Test MCP in Cursor
- In Cursor, open the Composer panel by clicking the chat icon in the sidebar or selecting View > Composer.
- Type a command like “List my GitHub repositories.”
- Cursor will detect the GitHub MCP server and prompt you to approve the tool call. Check the details (e.g., repository scope) and click “Approve.”
- If successful, Composer will display your repositories. If not, double-check the server URL and token in Settings.
- Try another command, like “Create a new file in my repo,” to confirm everything works.
Ascending Order
- Alternative: Local Filesystem Server
- In Cursor’s MCP settings, add another server named “filesystem.”
- For “Type,” choose “Local.”
- In the “Path” field, enter a folder like /Users/your-username/Documents.
- Save and test by typing “List files in Documents” in Composer. Approve the tool call to see the file list.
Using MCP in Cursor
- Use Composer to issue natural language commands, such as “Open a pull request” (GitHub) or “Summarize a document” (filesystem).
- Always review tool call prompts before approving to ensure they match your intent.
- Avoid enabling auto-execution in Settings to prevent accidental actions.
Security Considerations
MCP is powerful but carries risks, especially since it’s a new protocol. To protect your Mac:
- Use Trusted Servers: Only add MCP servers from official sources, like Anthropic or Cursor’s vetted list. Untrusted servers could steal data or run malicious code.
- Secure Tokens: Store GitHub tokens securely (e.g., in macOS Keychain, not plain text). Revoke tokens if you suspect compromise.
- Prevent Injection Attacks: As you mentioned, hacks like forwarding emails to a malicious address are possible via prompt injection. Always inspect tool call details in Cursor’s UI. For example, a rogue server might hide instructions to copy data elsewhere. Manual approval is your best defense.
- Limit Access: For filesystem servers, restrict paths to specific folders to avoid exposing sensitive files.
- Update Regularly: Keep Cursor updated via Cursor > Check for Updates to patch security flaws.
Troubleshooting
- Cursor Won’t Open: Ensure your Mac meets the hardware requirements. Check System Settings > Privacy & Security to allow Cursor.
- MCP Tools Not Showing: Verify the server URL or path in Settings. Restart Cursor to refresh the config.
- Token Errors: Regenerate the GitHub token if it’s expired or lacks correct scopes.
Final Notes
Setting up MCP in Cursor on macOS is straightforward with a GUI approach, making it ideal for developers who want AI to automate tasks like GitHub management or file operations. Cursor’s free plan is robust enough for most users, and the hardware requirements fit modern Macs. For your blog readers, emphasize that MCP boosts productivity but demands caution—especially with tokens and tool approvals—to avoid risks like the email forwarding hack you mentioned. Secure tokens like passwords, and stick to trusted servers to keep your data safe. If you need visuals or a demo video for your post, I can suggest formats—just let me know!